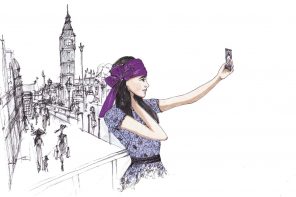
We live in a time where image is key. There’s not a single person who wouldn’t benefit from getting a professional photo taken. You don’t have to invest in a whole blow-out vogue photoshoot. But consider a basic headshot and maybe a few other poses for options. These photos will come in handy in multiple ways. Of course a main one making for a great profile photo, but it’s power can extend far beyond that.
Think about anytime you apply somewhere, whether it’s a job, competition, course, anything that may require a photo, it will make a much stronger impression if you attach a beautiful high quality image vs. a blurry, whats-in-the-background image. No matter how “good” you look in the photo it won’t be as impressionable if it’s not high quality and well thought out.
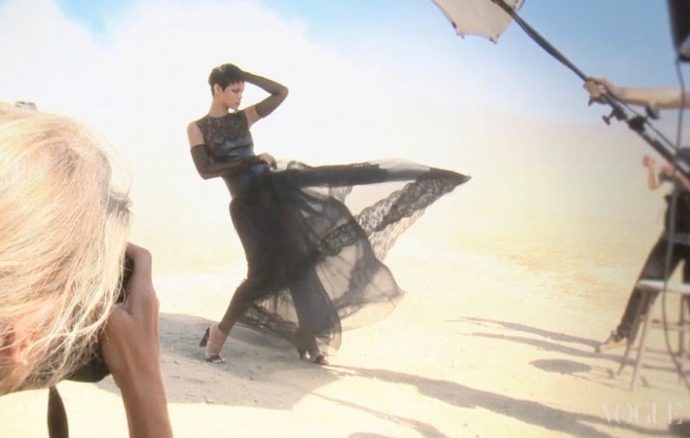
Although I’m sure you can easily call up a friend to snap away it makes a huge difference to hire an actual professional. Not only will they be using a high quality camera, but they will be able to adjust the lighting to perfection and professionally edit the photos afterwards. Although filters do wonders, you’d still be surprised how much work goes into an actual shoot, and yes, you can tell the difference. Before you rush out to hire the first photographer you find, review these key points to help select the best one…
When looking for a photographer be sure to:
View their portfolio or past shoots. Do you like their style? The lighting, the setup, the way the subjects look? Be sure they shoot people, you don’t want someone who specializes in nature photography. Before you invest in someone you want to have an idea of what you’ll be getting.
You’ll also want to confirm what’s included in the price. Is there a different fee for shooting on set vs on location, how many photos will you recieve, and important to remember, will retouching be included?
Be upfront about exactly what you’re looking for.
I recommend getting:
- A head shot, so shoulders and above, with the focus being on your face.
- A full or three-quarters length body shot, whether you’re lounging on a couch or strutting down the street.
- And one that’s simply fun, where you can show more of your style and personality. You could be laughing, spinning around, holding flowers or a baby monkey, whatever makes it personal and shows an image you want to convey.
Of course every photo should look like you. You want to look like yourself , but the best possible version of yourself. This means keeping an eye on the details. Here are the main details to consider while prepping for the shoot.
Photo Shoot Prep:
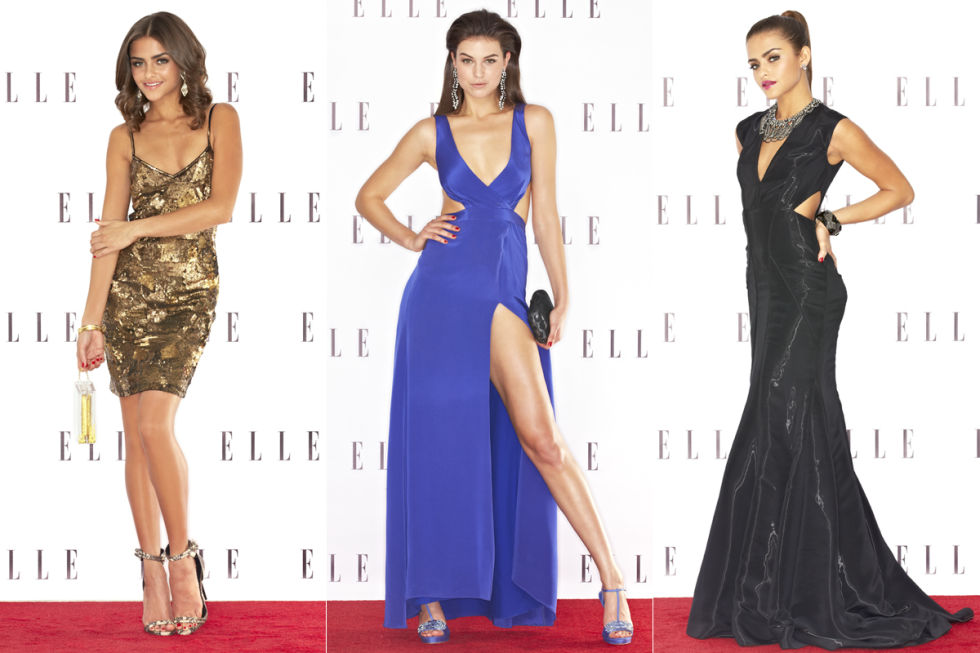
Wardrobe: We may not all have Rachel Zoe on speed dial, but we can still look like a style star with a few quick tips. When selecting your outfit for the shoot you’ll want to mainly concentrate on color and fit.
Select a color that doesn’t wash you out and has enough pop to compliment your hair and skin tone. To ensure a timeless look opt for solids. Prints may look stylish in the moment, but they may not photograph well and appear dated as time goes by.
Fit is probably the most important thing to consider. You want something that flatters your shape and accentuates your best bits. You don’t want anything too tight, but you want something fitted enough that the clothes aren’t tent-like. For full or three-quarter length shots consider proportions. Does that skirt cut your legs at the wrong point? Should the waist be higher or lower?
This is a day to dress up and have fun, to be the belle of the ball if you will, but you don’t want to go overboard. For the purposes of creating photos you can use time and again you don’t want anything to sexy, flashy or fancy. You’ll want to think classic daywear. A look you could wear to an elegant brunch. Something natural yet still done up with some thought to details.
![]()
Hair: Unless you’re a hairstyling pro I highly recommend getting your hair professionally styled for the shoot. Don’t go for anything too made up or fancy unless that’s your typical look. You’ll want to look glamorous yet carefree and natural.
Think about how you normally wear your hair and go for a stylized version. For example, if you usually wear it down opt for a sleek blow out, perhaps with a bit more volume than usual. If you always sport a pony tail, try out a sleek pony where the band is hidden and your strands are poofed and polished to perfection. Also consider the outfit and accessories you’ll be wearing so that it flatters the whole look. For example, if you’re wearing dramatic earrings perhaps consider pulling your hair back to show them off.
Make-up: Similar to hair, you want to take your normal look and take it up a notch. If you’re not typically a make-up lover you will want to make an exception. Photos are a time where make-up can go a long way in playing up your natural features. I’ve no doubt you’re gorgeous in your natural state, but it’s simply a fact that faces have a tendency to become washed out in front of the camera. So fill in the brows, add the false (but natural looking) lashes, don’t be afraid to contour and pile on more blush than you usually would and don’t forget the lipstick. You don’t want to look like a clown, it’s more about ensuring your features show up on camera.
Again I suggest going for an elegant brunch look. Classic neutral tones, not too much shimmer and remember powder to reduce shine. Avoid evening looks. If you opt for a smokey evening eye or something loud or trendy the photos won’t be as versatile.
If you’re not comfortable doing it yourself make a day of it and go get it professionally done, but go handy with some photos of the look you’re after. It’s worth taking the time to do it right, make-up can completely transform a photo.
Nails: If there’s absolutely any chance of your hands or feet showing, I insist you get a mani pedi. This may seem overkill, but if you’re investing in high quality photos you don’t want a simple detail like a poorly polished pinky to detract from the image.
It’s tiny details like these that takes a look from going to pretty to that je ne sais quoi, I’m not sure why, but that woman looks stunningly perfect. This is as true for your photos and it is in real life. When selecting color consider your look, but neutrals such as pale pink and clear are always classic. However, feel free to have fun if you’re going for a more “fashion” look.
Find Your Best Side: We all have one. No one has a completely symmetrical face, which mean that one side will always be “better” than the other. It’s your duty as a human being to determine which one that is. Just take a moment and stare at your face in the mirror. Look at it from all angles, including the profiles. Which side do you prefer more? Of course this comes down to personal preference, but I guarantee you’ll like your photos much more if you know which side you like best. Once you’ve determined your best side, be sure the camera captures that angle more than the other and don’t be shy to share this tid-bit with the photographer, trust me they’ve heard it before.
Practice Your Pose: Now that you know your best side, you should prep by practicing your best pose. You’ve probably all heard the advice of one hand on the hip with one leg jutting out to the side to create longer leaner angles. This can be very effective, but it comes down to practice. No matter what pose you strike, it won’t look fabulous if you’re not comfortable in the position. Granted most attractive poses aren’t natural and therefore not comfortable, which means you’ll want to practice a lot before hand.
Stand in front of a full length mirror, ideally in the outfit you’ll be wearing and practice poses from all angles. If you get used to contorting your body alone, you’ll be able to replicate it easier when in front of the camera. To get some posing inspiration, google celebrities on the red carpet, or even photos of professional women you admire. How are they sitting, standing, smiling? That brings me to another point…
Posing is not just about the body, but about the face. Practice your smile. Do you prefer, lips closed, or teeth showing. A cheek to cheek grin or a subtle smizing. Of course you don’t have to smile, but in general you’ll want your photos to look mildly inviting and adding a little warmth to your expression always helps.
Sip Some Champagne: If you’re uncomfortable in a photo it will be obvious. It’s natural to freeze up and suddenly become aware how silly and awkward you feel. Although most of us are probably very used to getting our photos taken it’s a little different when there’s a professional behind the camera.
You’ll want to relax for the big day. Whether this means taking a bubble bath before hand, doing a quick mediation, inviting friends along for support and laughs or sipping some champagne, do whatever makes you feel relaxed. You want to feel open and free. You may physically look your best, but you won’t look your best if you don’t feel your best inside. So do whatever it takes to get in a good mood. Another great trick is music. Bring along a playlist of your favorite dance songs to lighten up the atmosphere.
Location, Location, Location: It can depend whom you’re working with, but you’ll want to think about where you want to shoot. If you want a classic white or neutral background then a studio setting is fine. But you can also consider an on location shoot if you have a certain place or look in mind. Maybe there’s a pretty park nearby, or a classic cityscape. Maybe you prefer shooting at home, where you can pose in your stylish living room. Feel free to get creative. But remember the focus should be on you, so don’t overthink it or choose a background that will overpower you. And be open to the photographer’s suggestions as they may be based on lighting, which trumps everything as lighting is key.
I totally get that professional photos can be pricey, it’s definitely an investment, but one that I think is well worth it. Not only will you have professional photos at your fingertips to use for endless occasions, but you’ll also have beautifully documented photos of yourself to look back on when you’re old and grey (not that there’s anything wrong with grey!)
You may have hundreds, if not thousands of photos of yourself, but having at least a few that are truly perfect can be one of life’s greatest mementos. They’ll never be something you regret, unless they turn out horribly and in that case burn the hard drive.
HOMEWORK: Ideally I would say, go out and get yourself some photos taken, but if it’s not in the cards at the moment prepare as if you were going for a shoot. Select an outfit, practice posing, learn your best side. Start thinking about how you want them to turn out. Hopefully these actions will get the ball rolling and eventually lead to a photoshoot of your own.