You may think a lady only goes to the salon to get her manis and pedis, but a true lady should know how to take care of her own nails if need be.
Perhaps she’s run out of funds to support her weekly manicure habit or maybe she’s stuck in a remote jungle and has no access to a licensed cosmetologist. Whatever the reason, it’s always wise to have the know how to maintain your own nails and to complete touch-ups if necessary.
Below are 8 steps to help you achieve a salon worthy at-home manicure. But before we get to that, be sure to review the essential list of tools you may need to complete the job.
Essential Tools
- Nail-polish remover and cotton balls/Q-tips
- Nail clippers
- Nail file and nail buffer
- Cuticle pusher
- Cuticle oil
- Moisturizer
- Base coat
- Nail polish
- Top coat
Step 1: Clean
Firstly wash your hands and nails of any dirt or soil and remove any old nail polish you may have on your nails.
Step 2: Shape
If necessary clips your nails to their desired length, then shape them into a slightly rounded or square-rounded shape depending on your desired look. You’ll want to file your nails in only one direction, either, to avoid damage and breakage. I personally prefer to use a crystal/glass file vs an emery board as it’s both easier to shape and kinder to your nails.
At this stage you may consider buffing your nails to give a smooth surface on which to place polish. Buffing can be very healthy for nails, but try to keep it to a maximum of once a week to avoid over abrasion.
Step 3: Soak
Soak your hands in warm soapy water to relax your nails and loosen your cuticles. You don’t want them too soft so keep it under 3 minutes. If you wish to exfoliate now’s your chance.
After soaking I always double check to see if I need to do any last minute filing touch-ups, rough edges I may have missed.
Step 4: Cuticles
If you have particularly dry or stubborn cuticles you may consider applying some oil before this step.
Now take your cuticle tool and gently push back your cuticles so that your nail beds have a smooth even shape. Some people will suggest cutting your cuticles but it’s not a practice I prefer. It seems too invasive and unnecessary for me. As long as you soften them beforehand they are easy enough to push back and create a clean look.
After you push the cuticles back you can apply a moisturizing lotion to your whole hand.
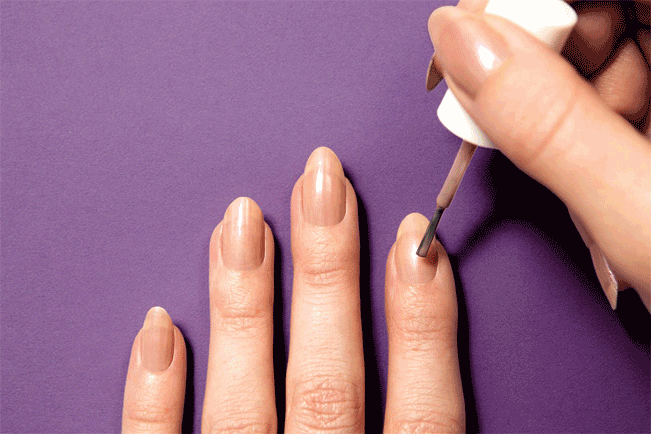
Step 5: Base Coat
Before applying your base coat give a quick swipe of polish remover to your nails to create a clean base, free from any moisture or oils. This helps your polish to adhere and remain long lasting.
Apply one thin coat as a base. This not only makes for a smooth base but protects nails from any vivid or dark colors. If you’re a fan of red nails you’ll now what I mean about the stains.
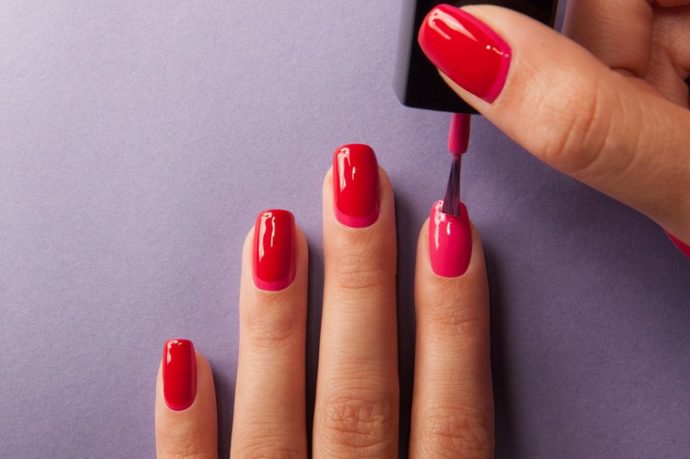
Step 6: Polish
Now the fun part! (also the make or break part) Select your preferred color and paint one thin layer covering the entire nail. Start in the center and work your way to each edge overlapping as you go to create an even look.
After I apply my first coat I tend to dip a q-tip in polish remover and clean up any polish that may have gone over the nails.
After at least two minutes paint on your second coat, again keep it thin and even. The more you allow you first layer to dry the quicker your second layer will dry.
The trick is to keep all layers as thin as possible to make for a clean smooth finish.
Step 7: Top Coat
Wait two minutes and then apply your top coat. This not only creates a shiny finish but will magically smooth over any bumps or imperfections that may have happened along the way.
You may apply a fresh layer of top coat every few days to protect from chipping and ensure your manicure lasts.
Step 8: Dry
Now for the greatest challenge, letting them dry.
I don’t know if it’s nature’s cruel trick, but it’s always right after you’ve done your nails that you suddenly get a craving for finger foods or simply must do your hair. Just don’t, don’t do anything. Resist the urge and just sit still. It only takes one wrong move to destroy your hard work.
There are special quick drying top coats and oils you can apply if you’re particularly impatient.
Also, try to refrain from painting your nails before you go to bed. It may seem like a convenient time but I can’t tell you how many times I went to bed with what I thought were perfectly dry nails to wake up with pillow smudged polish the next morning. It’s quite disappointing so try to avoid it if you can
Remember practice makes perfect. It may not look salon worthy on your first go, but trust me you’ll get there.
Once you’ve mastered this basic yet professional manicure you can turn to more creative designs if you wish. I myself prefer a clean pick or popping red, but if nail art is your thing go for it! Just be sure it looks professional or you’re better off going to an actual professional.
HOMEWORK: Follow these steps and attempt to create your own perfect manicure. Do you find it relaxing to do your own nails or do you prefer the salon experience. Share your opinion in the comments below!